How to use windows - security level profiles in Endpoint Manager
Endpoint Manager new profiles are optimized for security and usability. The profiles are based on three levels of security as follows:
-
‘Windows - Security Level 1 Profile’ (replaces 'Optimum Windows Profile’)
-
‘Windows - Security Level 1 Profile [Former Standard Profile]’ (replaces ‘Standard Windows’ profile)
-
‘Windows - Security Level 2 Profile' (replaces ‘Hardened Windows Profile’)
-
‘Windows - Security Level 3 Profile’ (new profile - max. security)
Step [1] : To view the profiles go to "Endpoint Manager"→ "CONFIGURATION TEMPLATES"→ "Profiles".
-
More details on each profile are under the next screenshot.
Windows - Security Level 1
-
Replaces ‘Optimum Windows Profile’ with the following addition:
-
HIPS is enabled with ‘Safe Mode’ + ‘Allow Request active
-
-
This is now the default profile unless you designate a new default
Windows – Security Level 2
-
Replaces ‘Hardened Windows Profile’ with the following additions:
-
HIPS is enabled with ‘Safe Mode’ + ‘Block Request active
-
Auto-containment is active with logging enabled
-
Windows – Security Level 3
-
New profile featuring highest security settings
-
Same as ‘Windows – Security Level 2’ with the following additions:
-
Antivirus settings - ‘Use Cloud While Scanning’ is enabled by default in ‘Full Scan’. The cloud database is the most up-to-date version of the virus database, so antivirus scans are more accurate. It also means CCS is capable of detecting zero-day malware even if the local database is out-of-date.
-
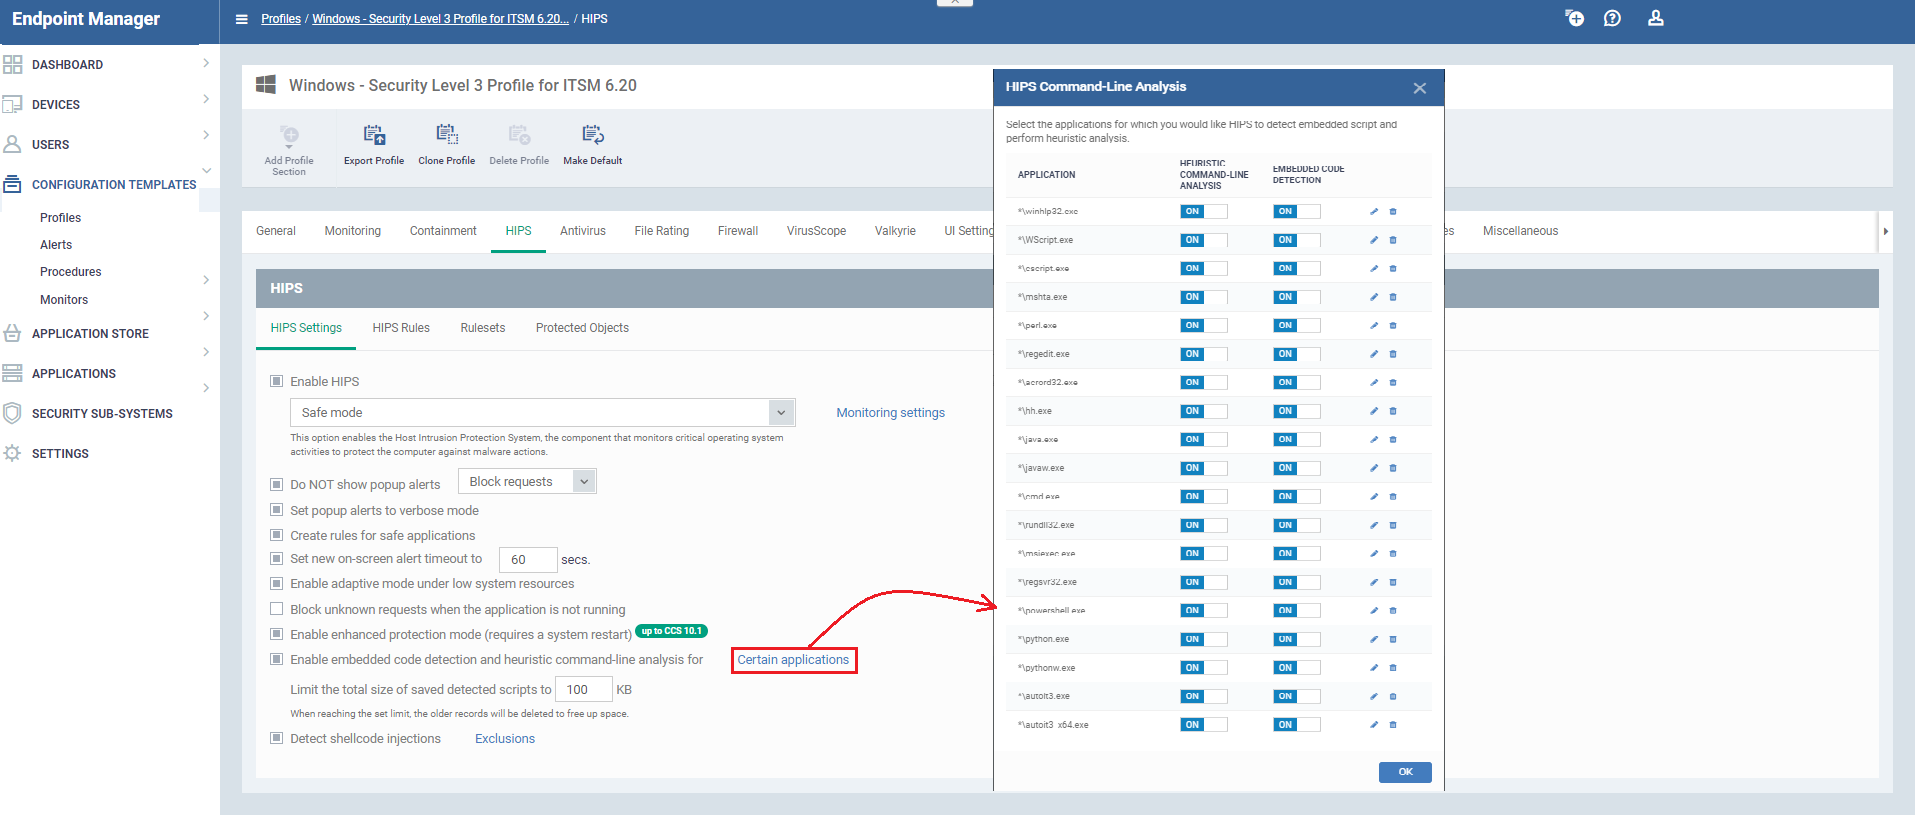
HIPS settings – all interpreters are enabled under ‘Heuristic Command Line Analysis’ and ‘Embedded code detection:
-
Windows – Security Level 1 [Former Standard Profile]
-
Replaces ‘Windows Standard’ profile.
-
Implements the same security settings as mentioned in ‘Windows – Security Level 1’

