How to configure ticket filters in Service Desk
Click 'Admin Panel' > 'Manage' > 'Ticket Filters'
- Ticket filters are rules which implement specific actions on tickets if certain criteria are met.
- Actions include routing tickets to a specific department/admin/staff member, sending an auto-response, closing/rejecting a ticket, changing the ticket owner, and more.
- Once saved and made active, the filter is applied to all new tickets received by your organization.
- You can create multiple filters and prioritize them with the 'execution order' setting. Filters with a higher execution order take precedence in the event of a conflict.
Examples:
- Identify tickets with device names starting with 'Desktop'. Change the users on those tickets to a specific user. For example, to the network admin.
- Assign tickets that were auto-created by Endpoint Manager to a specific staff member.
Click the links below for help with each aspect of ticket filters:
- The ticket filters interface
- Create a new filter
- Activate / Deactivate a filter
- Edit a filter
- Remove a filter
- Login to Comodo One / Dragon
- Click 'Applications' > 'Service Desk'
- Open the 'Admin Panel' (see the last link on the left)
- Click 'Manage' > 'Ticket Filters'
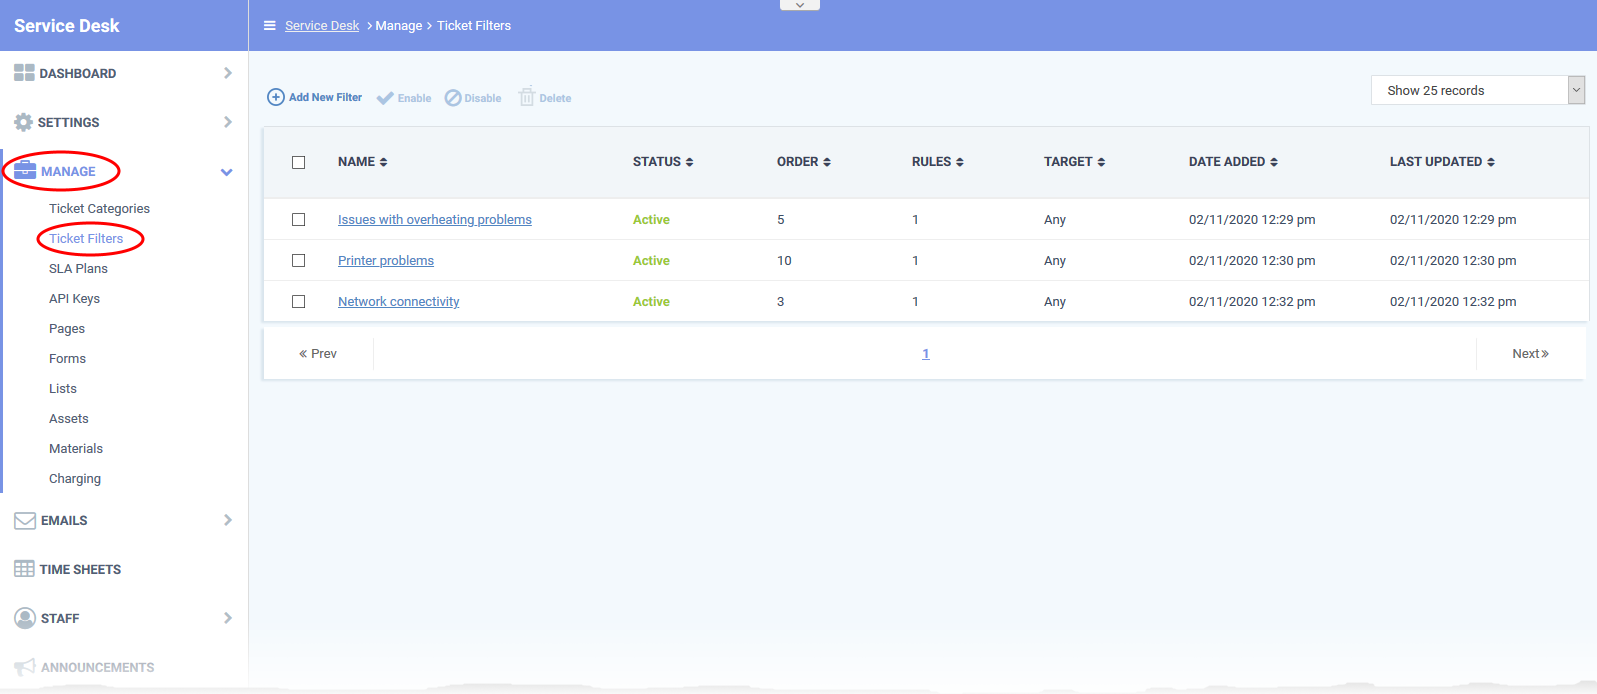
- Name - The label of the ticket filter
- Status - Whether the filter is enabled or disabled
- Order - The priority that the filter is executed
- Rules - The number of rules in the filter
- Target - The channel over which the ticket is received. You can select ‘Any’, or pick a specific channel like ‘Email’, ‘Web’ or ‘API’.
- Date Added - Date and time the filter was created
- Last Updated - Date and time the filter was most recently edited.
- Open the 'Admin Panel' (See the last link on the left)
- Click 'Manage' > 'Ticket Filters'
- Click 'Add New Filter'


The new filter form contains the following sections:
- Filter Name: Enter a unique label for the filter. The name should identify the purpose of the filter.
- Execution Order: The priority of the filter. The lower the number, the higher the priority.
- Filters are prioritized according to their execution order. If a ticket meets the conditions of multiple filters, and these conditions conflict with each other, then the filter with the higher execution order is implemented.
- Stop processing further on match! - Service Desk will apply the actions in this filter when it finds a ticket which meets its conditions, then ignore any other filters which match the ticket.
- Filters are prioritized according to their execution order. If a ticket meets the conditions of multiple filters, and these conditions conflict with each other, then the filter with the higher execution order is implemented.
For example, say you have two filters which state different actions for tickets received from ‘example@example.com’:
Filter A - IF user / email address EQUALS ‘example@example.com’, THEN assign to ‘Maintenance’ dept. Execution order = 1
Filter B - IF user / email address EQUALS ‘example@example.com’, THEN send ‘Canned response’. Execution order = 2
Actions are applied in this order to the tickets received from 'example@example.com':
1. The ticket is assigned to 'Maintenance' dept
2. A canned response is sent
If 'Stop processing further on match!' is enabled in filter A then the ticket is assigned to maintenance, but the canned response is not sent.
- Filter Status: Select whether you want the filter to be active or inactive by default. You can change the filter status at anytime using the 'Enable'/'Disable' buttons in the ticket filter screen. See Activate / deactivate filters for help with this.
- Target Channel: The method by which you received the ticket. For example, over email, via the service desk support website, over the phone, or auto-generated by Endpoint Manager. Service Desk will only apply the rule to tickets received over this channel.
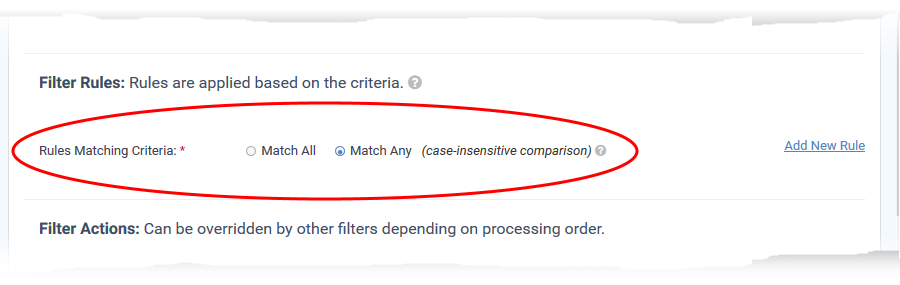
- Each rule has a search condition and a search criteria.
- You can add multiple rules to a filter, and choose to apply the filter if all rules are met, or if any one of the rules is met.
Match All – Applies the filter if every rule is met
Match Any – Applies the filter if any single rule is met

Add rules
- Click 'Add New Rule' on the left

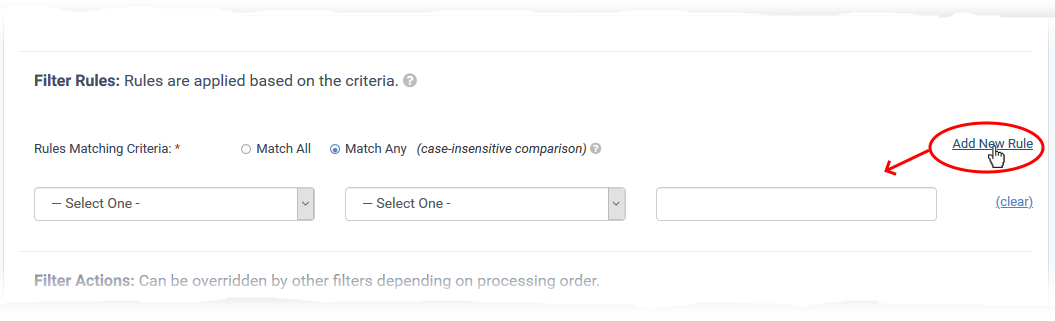
- Define a search rule in the following format:
<Search Parameter> <operator> <Search Criteria>
- Choose the search parameter from the first drop-down. For example, you can search for tickets from specific email addresses or domains, or by their priority level or category.
- Select the operator from the second drop-down (Equal, Not Equal, Starts With, etc)
- Type the search criteria in the text field. What you type here depends on the search parameter you picked in the first drop-down. For example, it could be an email address, customer name, user, ticket category etc.
- The rule in the following screenshot will catch all tickets which contain a 'Device Name' that starts with 'DESKTOP':

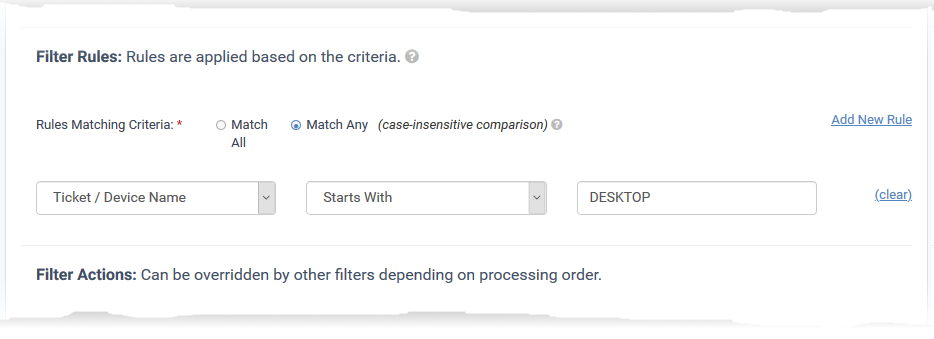
- Repeat the process to add more rules to the filter
Actions are the processes you want to implement when a ticket meets the conditions of the filter.
The available actions are:

- Reject Ticket: The ticket is not accepted and not added to Service Desk. Your support team will not work on it.
- Reply-To Email: An automatic response is sent to the email address from which the ticket was generated. This applies only if the ticket source is 'Email'.
- Ticket auto-response: If selected, auto-response mails are disabled. The setting here overrides the auto-response settings of the department to which the ticket is assigned.
- See this wiki to read more about auto-response settings
- See this wiki to read more about auto-response settings
- Canned Response: Automatically send a preset reply to the user.
- See this wiki to read more about canned responses
- See this wiki to read more about canned responses
- Department: Assign the ticket to a particular department.
- Priority: Assign a certain priority level to the ticket. The options are Low, Normal, High and Critical.
- See this page to read more about priority levels.
- See this page to read more about priority levels.
- SLA Plan: Apply a preset service level agreement to the ticket.
- See this wiki to read more on SLA’s
- See this wiki to read more on SLA’s
- Auto Close: Closes the ticket. The status of the ticket changes to 'Closed' in the 'Tickets' interface.
- Auto Change User: Set the ticket owner to a specific user. All further correspondence will be with the new user.
- Auto-assign To: Assign the ticket to a selected member of staff or admin.
- Category: Place the ticket into a particular category.
- See this wiki to read more on ticket categories
- Add any comments you have about the filter.
- Click the 'Add Filter' button at the bottom to save your new filter.
Activate / Deactivate a filter
You can enable or disable a filter at anytime from the 'Ticket Filters' interface
- Open the 'Admin Panel' (See the last link on the left)
- Click 'Manage' > 'Ticket Filters'
- Select the filters
- Use the 'Enable' or 'Disable' links at the top to switch the filter between 'Active' and 'Inactive' states

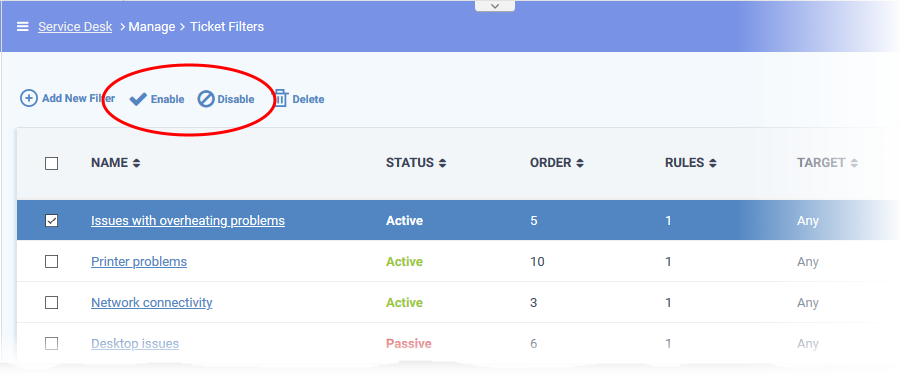
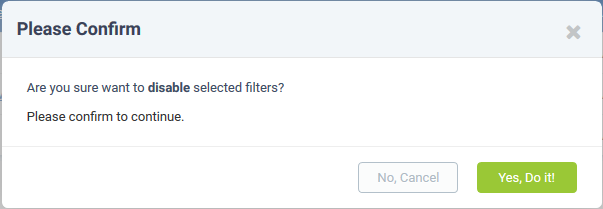
- Click 'Yes, Do it!' to confirm your selection
- Open the 'Admin Panel' (See the last link on the left)
- Click 'Manage' > 'Ticket Filters'
- Click on a ticket filter name in the list.
The 'Update Filter' screen lets you edit the filter configuration as required. The update procedure is same as explained above.
- Open the 'Admin Panel' (See the last link on the left)
- Click 'Manage' > 'Ticket Filters'
- Select the check box beside the ticket filters that you want to remove
- Click the 'Delete' link at the top
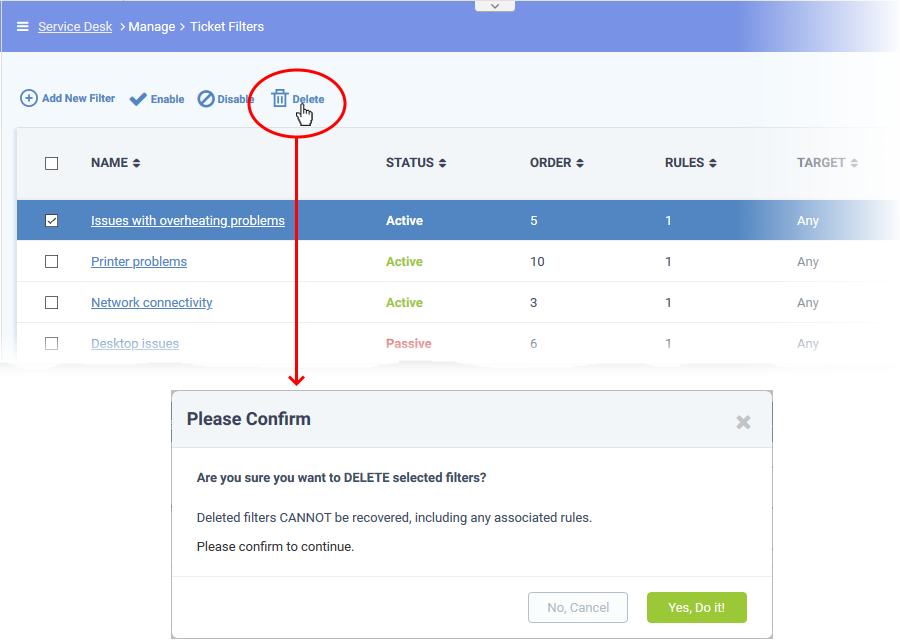
- Click 'Yes, Do it!' to confirm removal


---