How to enroll Android devices to Endpoint Manager
- This article explains how to add Android devices to Endpoint Manager.
- Once added, you can deploy profiles to manage device security, network access rights, browser restrictions and more.
- Note – You need to add users (device owners) before you can enroll their devices. Please see one of the following tutorials if you have not yet added users:
- Make sure target Android devices are connected to the internet and have enough space to install the Endpoint Manager app.
- Enrollment involves the following steps:
Enroll user devices to Endpoint Manager
- Login to Comodo One/ Xcitium
- Click 'Applications' > 'Endpoint Manager'
- Click 'Users' > 'User List' on the left
- Select the users whose devices you want to add
- Click the ‘Enroll Device’ button
OR
- Click the 'Add' button
then select 'Enroll Device'.
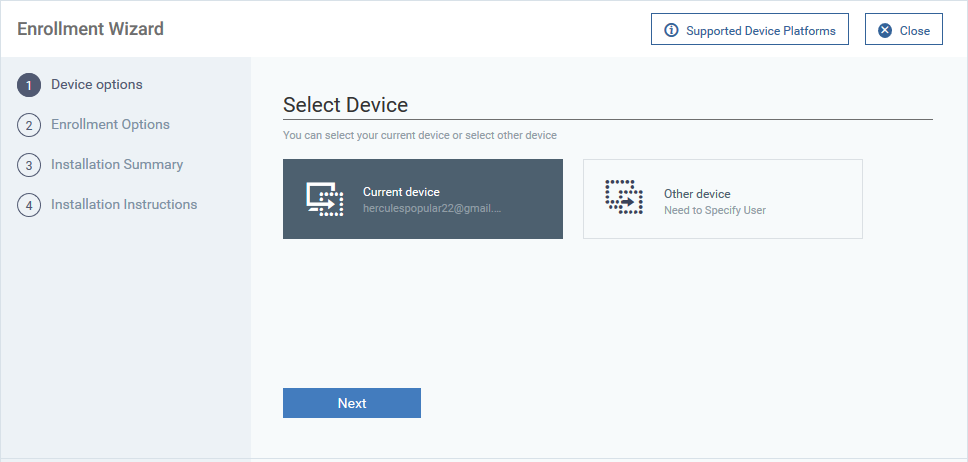
The device enrollment wizard starts:
Step 1 – Device Options
Select Device
- Choose 'Other device'
Specify User
- Any users you selected previously are listed in the 'Specify User' box
- You can add additional, existing users by simply typing their email address in the box. Endpoint Manager will auto-suggest users that have already been created.
- Create New User – Click if you want to add a new user to Endpoint Manager. You cannot add devices unless you have first added the users that own them.
The add-user process is explained here.
- Click 'Next' to proceed to step 2.
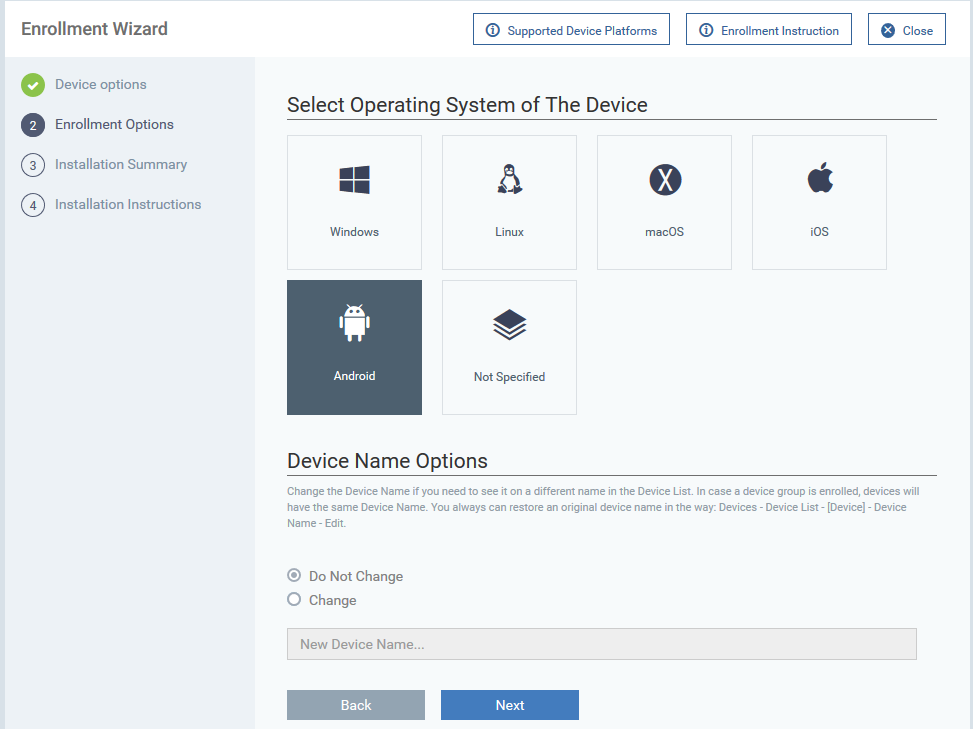
Step 2 – Enrollment options:
- Select Operating System of the Device
- Choose 'Android'
- Device Name Options
- Do Not Change - The device’s existing name is used to identify it in Endpoint Manager
. - Change - Enter a new device name.
- Do Not Change - The device’s existing name is used to identify it in Endpoint Manager
Click 'Next' to proceed to step 3
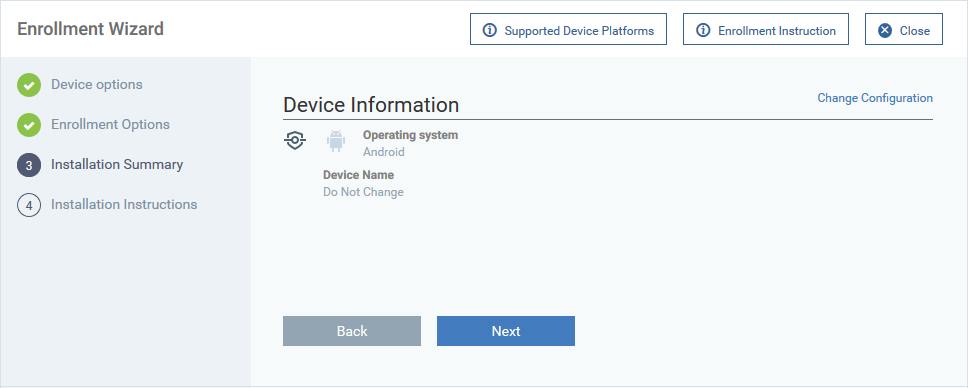
Step 3 - Installation Summary
- Review your choices so far:
- Click ‘Back’ or 'Change Configuration' (top-right) to revise your choices.
- Click 'Next' to proceed to step 4
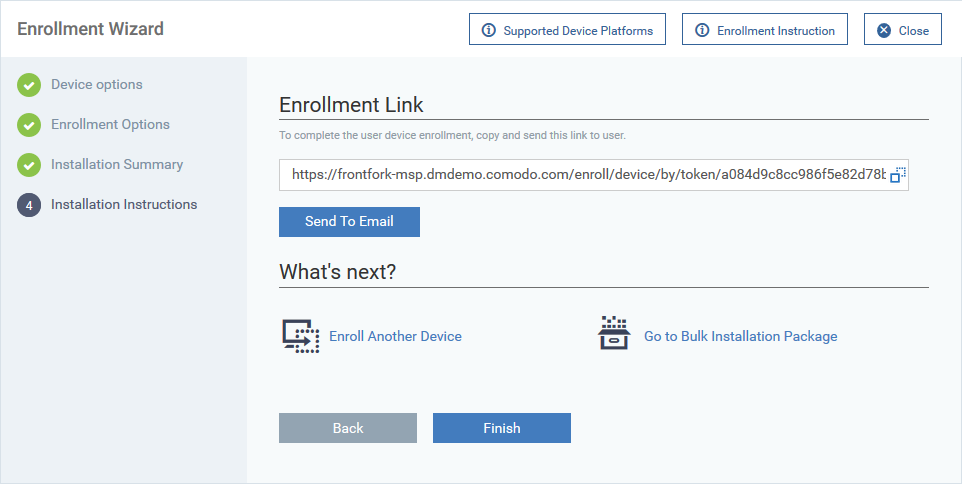
Step 4 - Installation Instructions
The final step is to send the enrollment emails to the device owners:
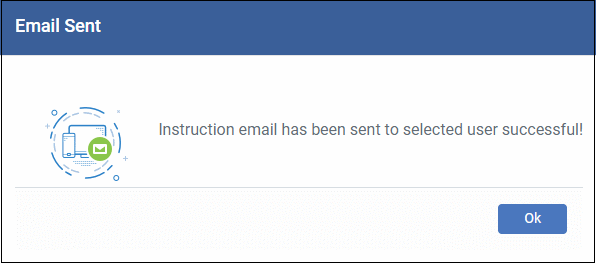
- Send To Email - Click this to send enrollment mails to users with the settings you choose in steps 1, 2 and 3.
- Click 'Ok' to exit the wizard
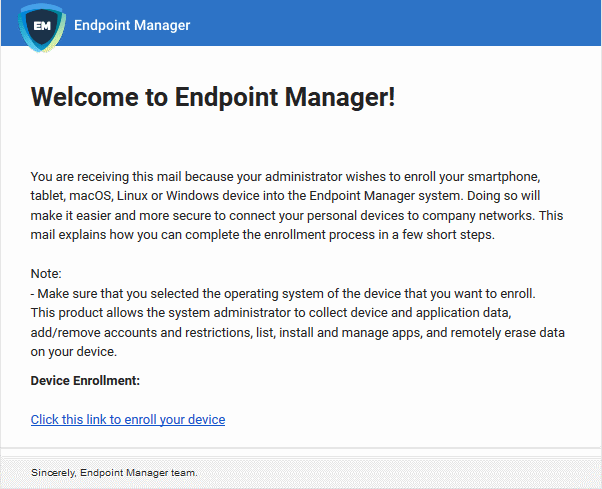
An example email is shown below:
Install and configure the client
- Users should open the enrollment mail on the device itself.
Enrollment involves two steps:
Step 1 - Download and Install the communication client
- Open the mail on the device you want to enroll
- Tap the link in the mail to start the enrollment wizard
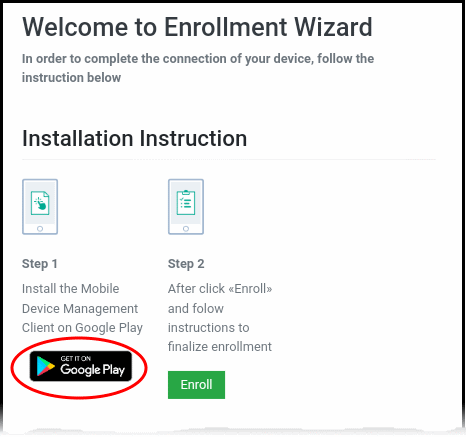
- Touch the 'Get it on Google Play' button:
- Download and install the client software from Google Play
Step 2 - Configure the communication client
The next step is to configure the client to connect to Endpoint Manager. There are two ways to do this:
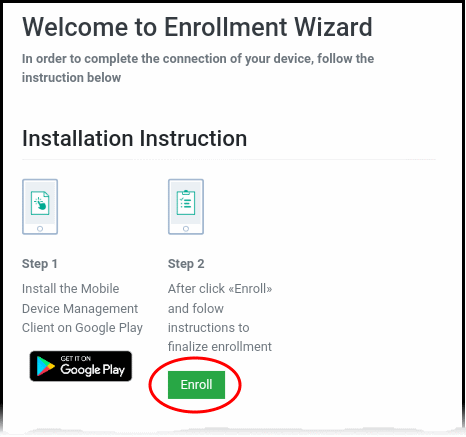
- After installation in step 1, go back to the device enrollment page and tap the 'Enroll' button under 'Step 2':
The client is automatically configured.
Users now skip to the EULA and device activation screen.
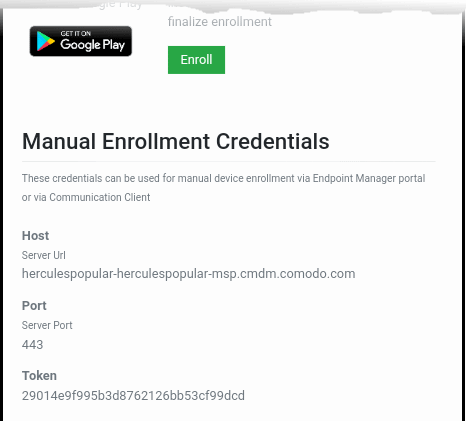
Users can manually configure the communication client to connect to Endpoint Manager by entering the server settings and token string (aka PIN). You can find these items on the enrollment page:
- Open the client by tapping the client icon on your device.
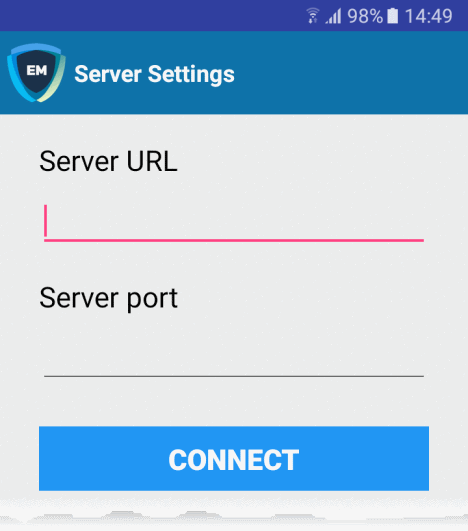
- This starts the client configuration wizard. Enroll the device by entering the server settings and unique token:
- Server URL - The server URL is listed on the enrollment page as described above.
- Server port - The server port is also listed on the enrollment page. Default = 443.
- Hit the 'Connect' button to open the login screen.
Login to the Console
There are two ways to login to the console:
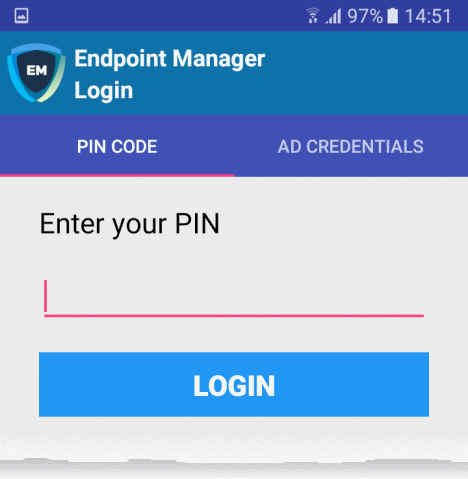
- Enter the token from the enrollment page in the 'PIN Code' tab
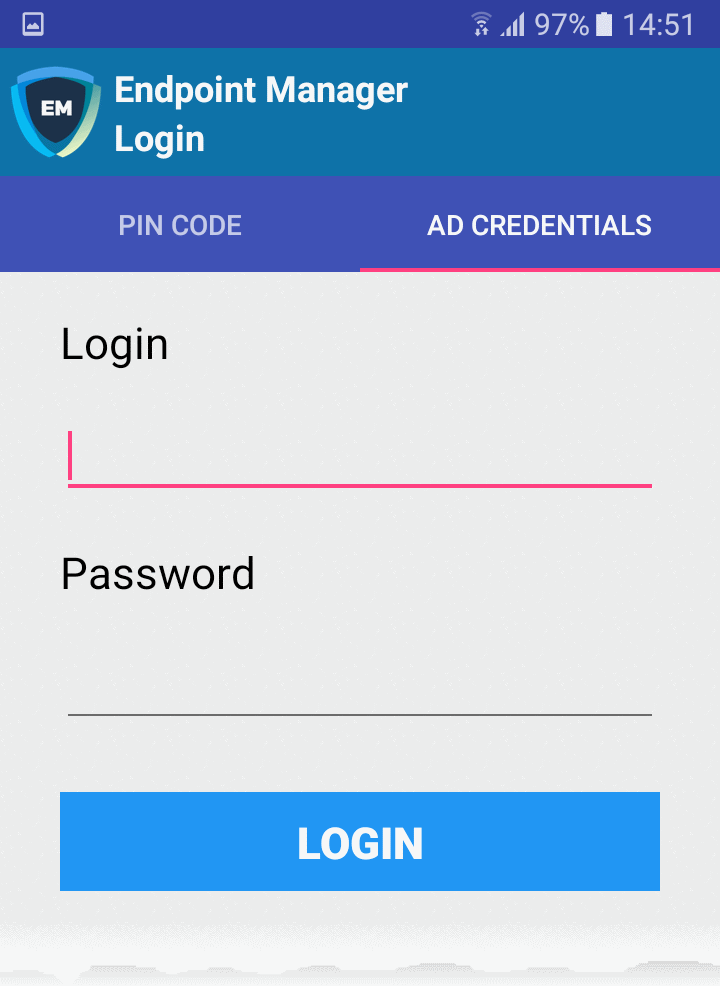
- Enter your domain username and password
Enter the token from the enrollment page
- Open the communication client
- Open the 'Pin Code' tab:
- Open the communication client
- Enter the token from the enrollment page as the PIN
- Tap 'Login' then agree to the EULA.
- Open the communication client
- Open the 'AD Credentials' tab
|
Prerequisite: Enrollment of user devices using their Active Directory (AD) credentials requires:
|
- Enter the username and password you use to login to your network domain.
- Tap the 'Login' button
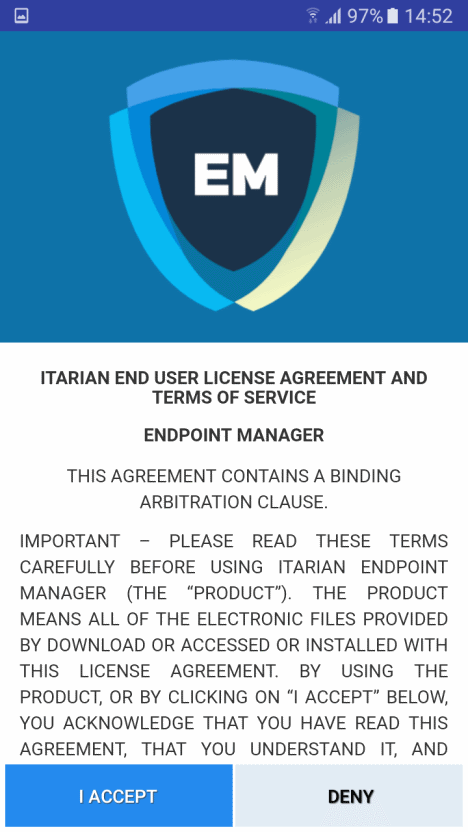
- Scroll down then click the 'I Accept' button
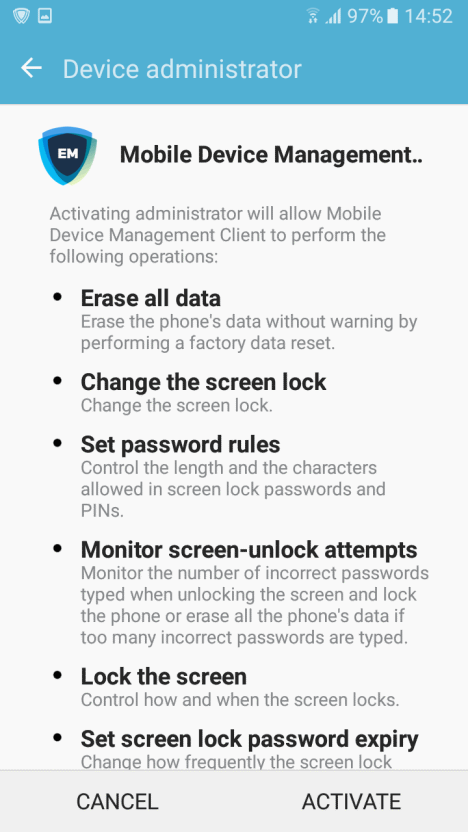
This starts the client activation screen. Activation requires the client is given some privileges:
- Tap 'Activate'.
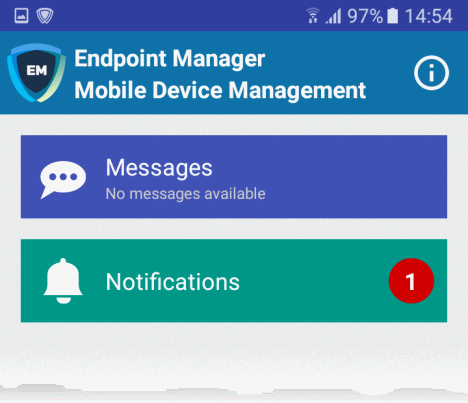
The communication client home screen opens:
The device is now enrolled to Endpoint Manager. All enrolled devices are shown in 'Devices' > 'Device List':
- You can now apply custom profiles to the devices if required. Click here to learn how to create and deploy a custom profile.


